PHOTOS ON WOODEN DISCS USING MARABU PHOTO TRANSFER.
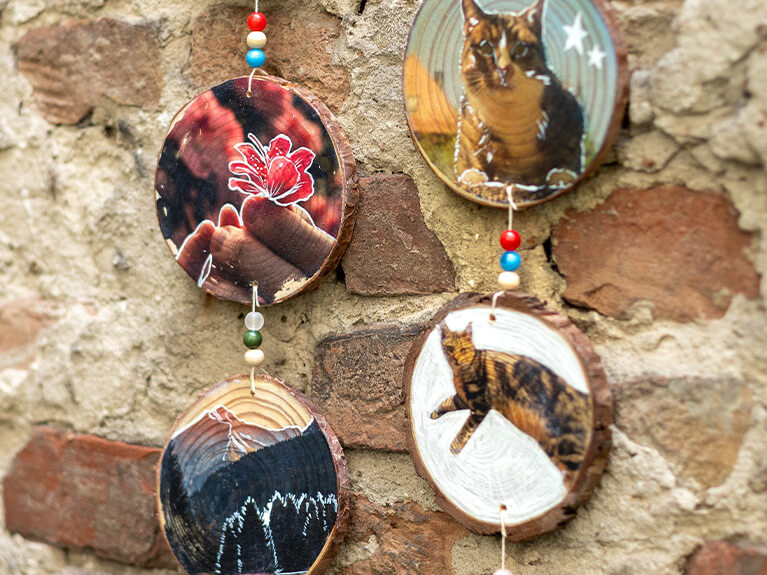
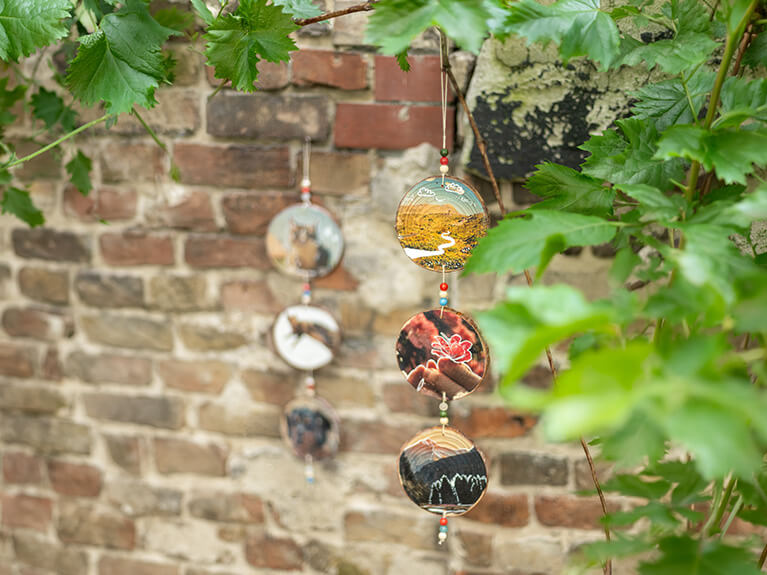
Showcase your photos in a natural way: With Marabu Photo Transfer Medium, you can transfer laser prints onto wooden discs to create a decorative keepsake necklace.
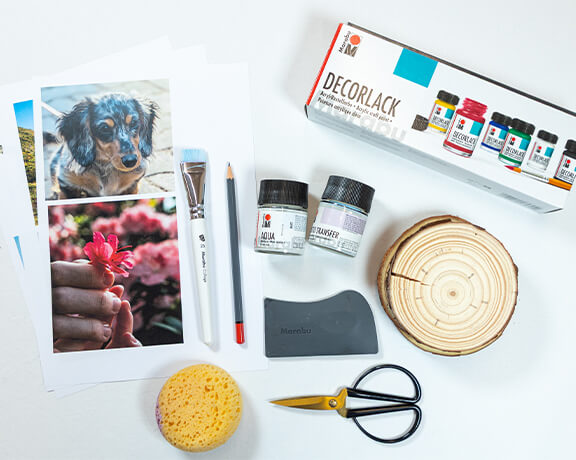
Cover the work area and lay out the materials. The wooden discs must be clean, dry, and free of dust.
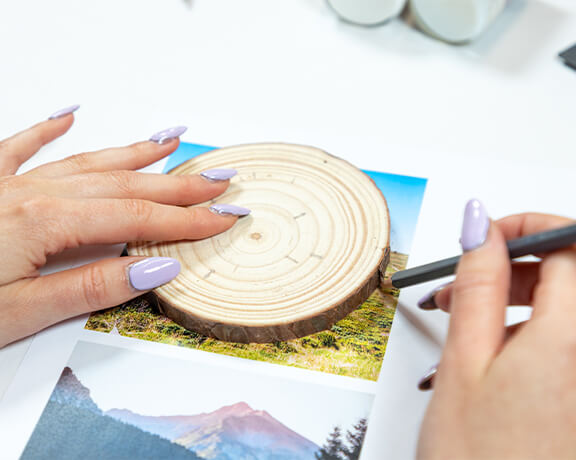
Print the photo using a laser printer. Place the wooden disc on top of the photo and trace the outline with a pencil.
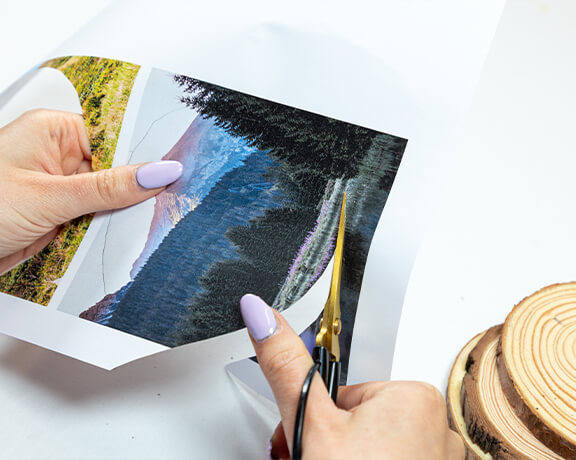
Cut out the photo along the outline.
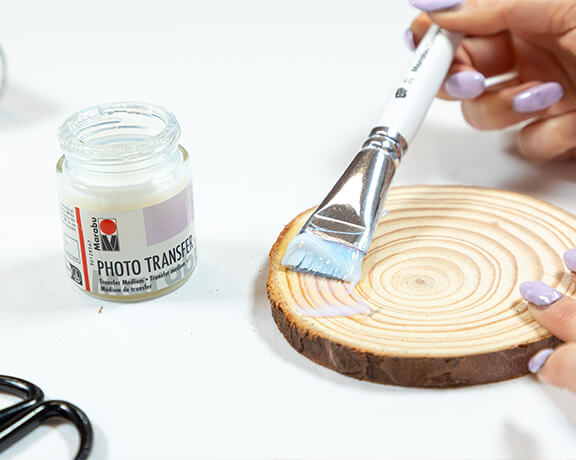
Apply a generous amount of the Photo Transfer Medium to the wooden disc and to the printed side of the photo print.
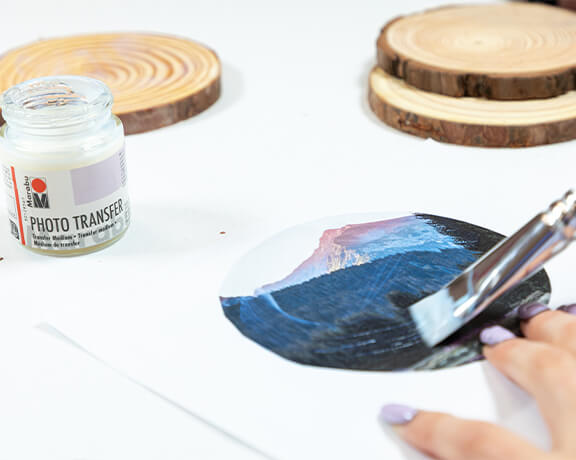
Apply a generous amount of the Photo Transfer Medium to the printed side of the photo print.
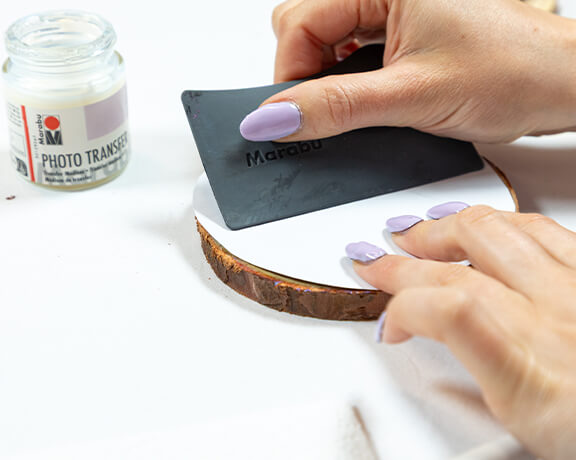
Place the print with the coated side facing down on the wooden disc and press it firmly with the squeegee, smoothing out any air bubbles as you go. Remove any excess medium immediately. Caution: Do not spread the excess medium across the paper. Wipe it away from the paper and remove it over the wooden disc. Let everything dry for a good 2 hours or use a hair dryer for 8 minutes.
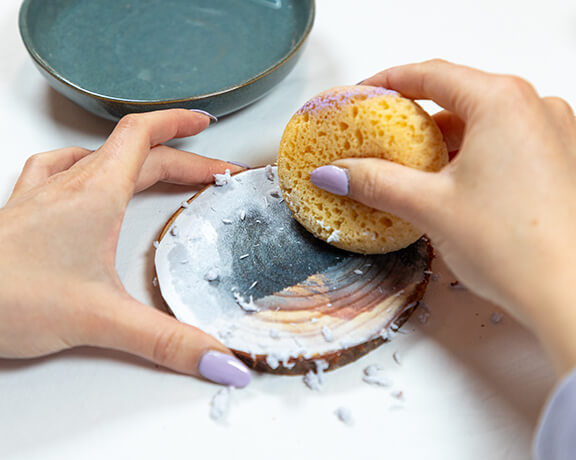
Once dry, dampen the paper printout with a wet sponge and let it soak thoroughly. Carefully rub the soaked paper off the wooden disc with your finger or the sponge. The paper layer will peel away, and the laser printer pigments will remain on the wood. Repeat the process until all layers of paper have been removed.
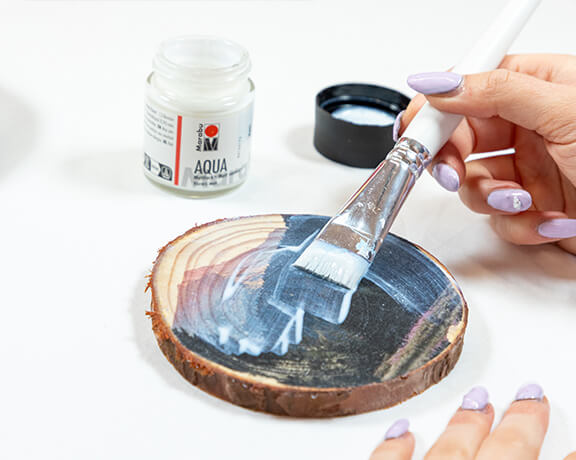
Coat the wooden disc and the transferred laser print with Marabu Aqua Matte Varnish to remove any remaining paper fibers and protect the image. Let everything dry thoroughly, then give it as a gift!
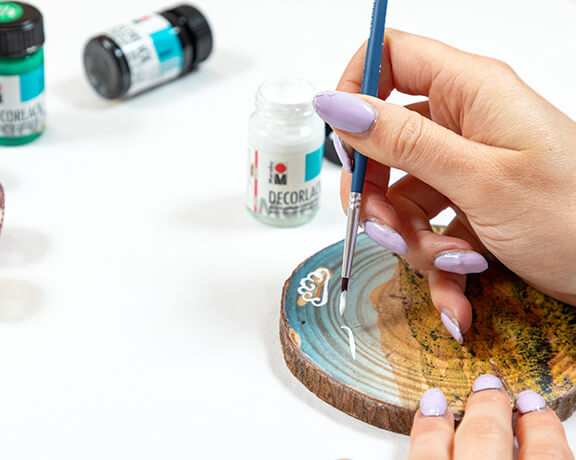
Optional: Use Marabu Decorlack to paint small details or patterns, then let them dry.
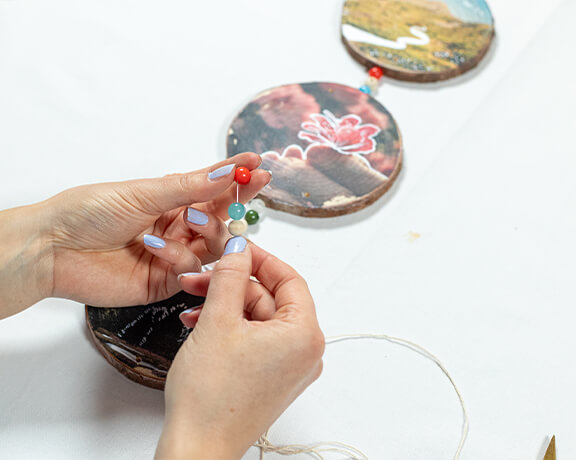
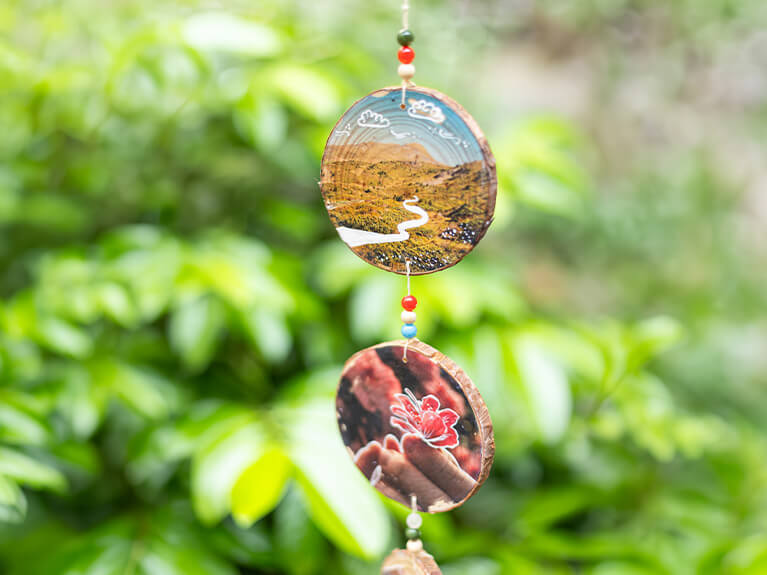
Drill a hole in the top and bottom of each wooden disc. Thread three discs onto a string, using beads as spacers, and tie a knot. Now it's ready to hang!