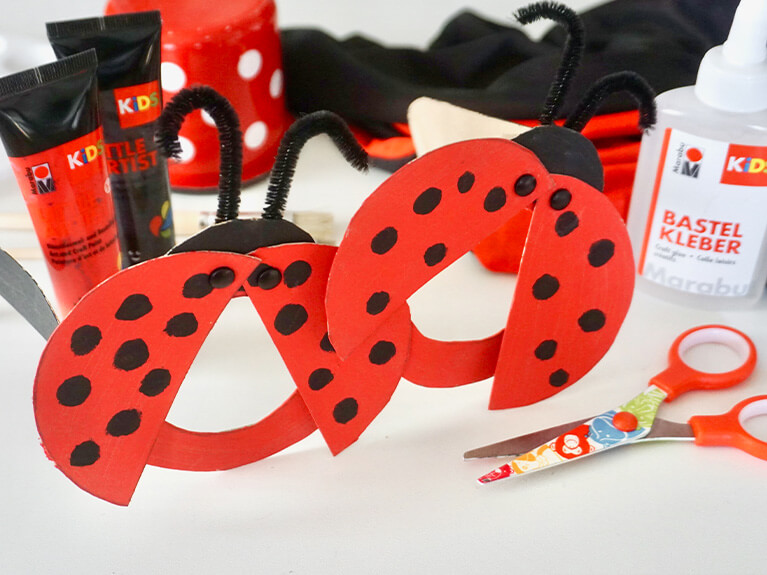
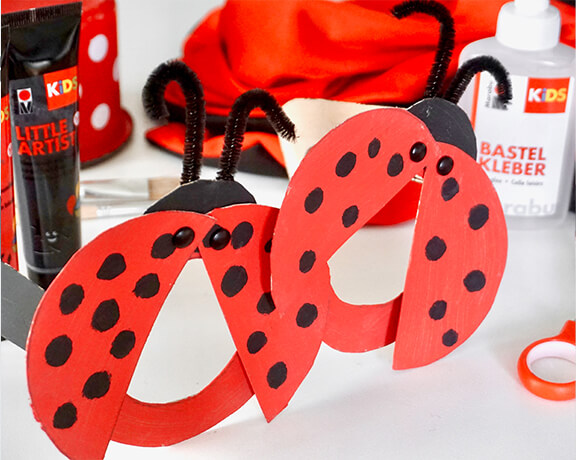
“LADYBUG” GLASSES WITH MARABU KIDS LITTLE ARTIST.


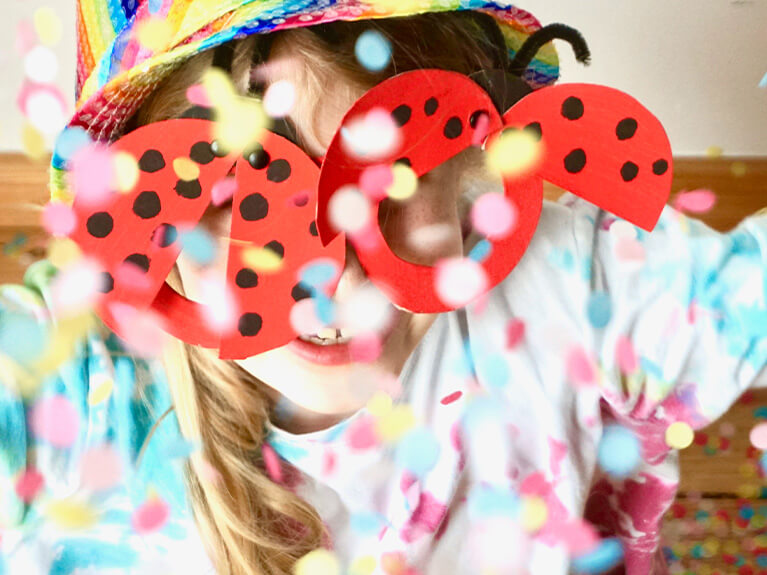
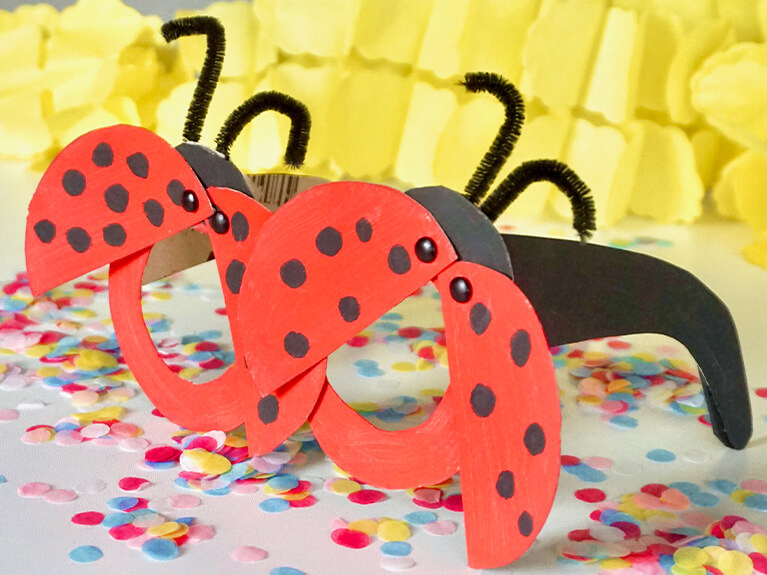
Get ready for a fun and creative craft project with Marabu KiDS Little Artist! In this tutorial, we’ll show you how to make an adorable pair of ladybug-themed kids’ glasses using simple cardboard materials. These cheerful bug buddies are perfect for dress-up days, themed parties, or imaginative play at home. A quick, colorful DIY activity that sparks creativity and brings big smiles. Let’s get crafting!
Decorative Image
Decorative Image
Decorative Image

HOW IT IS DONE:

Decorative Image
1

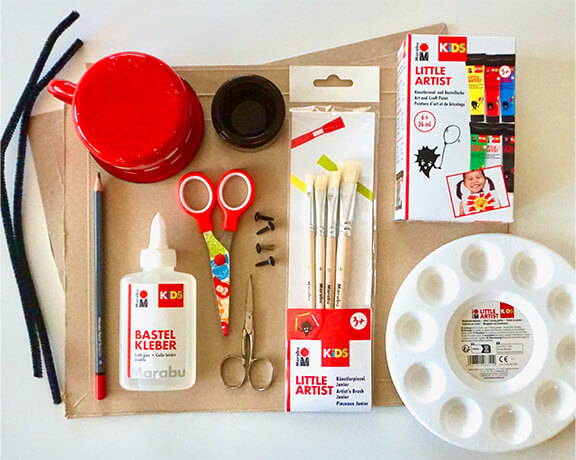
Cover the work area and lay out the materials.

Decorative Image
2

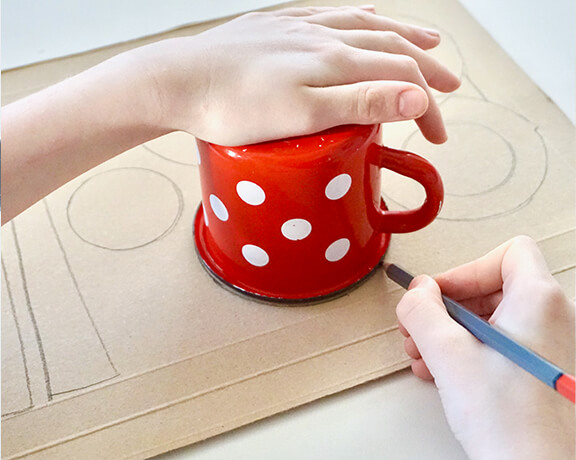
Spread out some old cardboard and draw circles to represent the glasses. You can use practical items such as cups, bowls and lids as templates for this.

Decorative Image
3

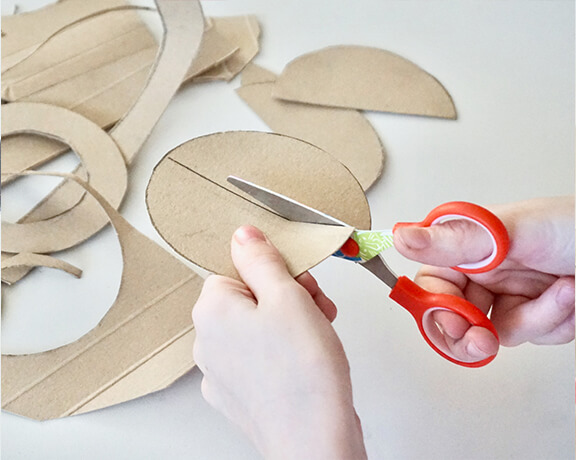
In addition, draw circles to represent the ladybirds and glasses frames on the cardboard.

Decorative Image
4

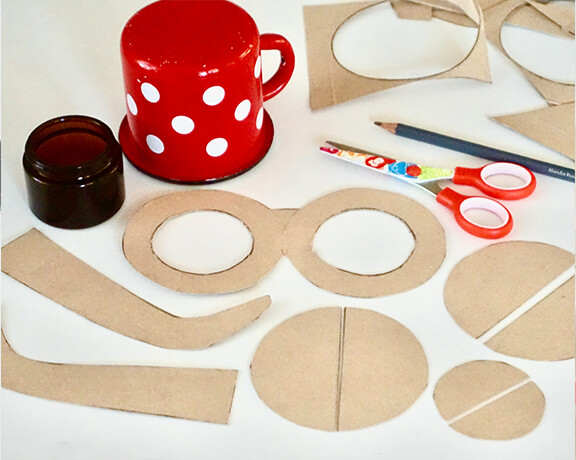
 Then cut everything out.

Decorative Image
5

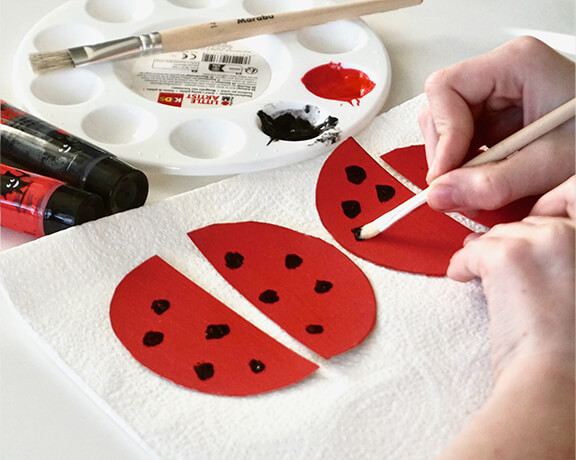
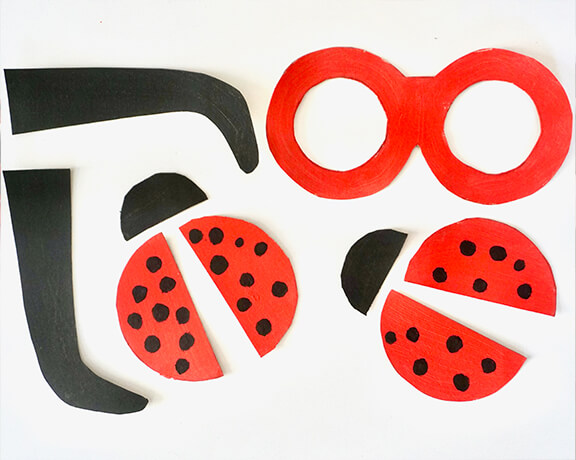
Use Marabu KiDS Little Artist to paint the cut-out pieces as desired.

Decorative Image
6

Make sure everything is completely dry.

Decorative Image
7

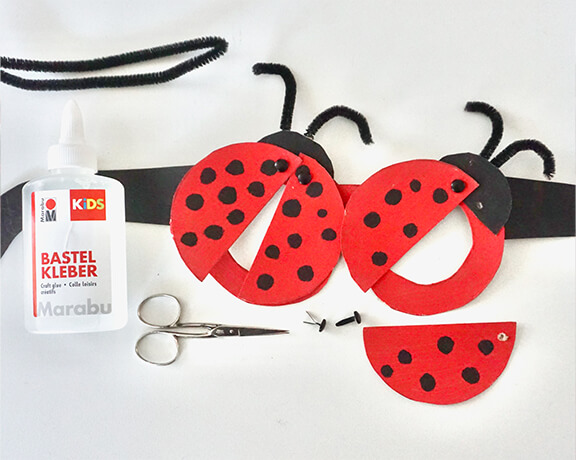
Finally, use craft glue and flat-head staples to assemble all the parts.

Decorative Image
8

Add the ladybird antennae made from pipe cleaner wire and your cute glasses are ready!

TIPS & TRICKS
  • Marabu KiDS Little Artist is suitable for many surfaces: canvas, paper, cardboard, stone, polystyrene, wood or terracotta.