PUMPKIN DIY WITH DO IT COLOR SPRAY, CRAFT PAINT, & MARKERS.


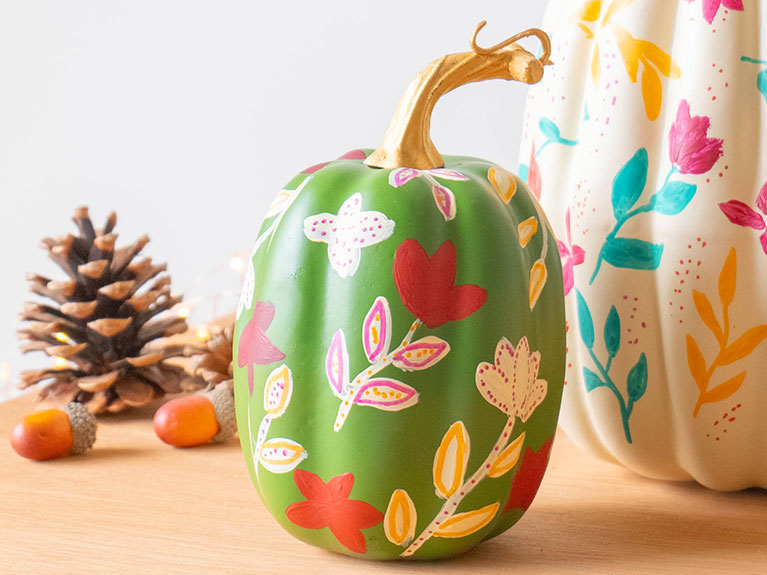
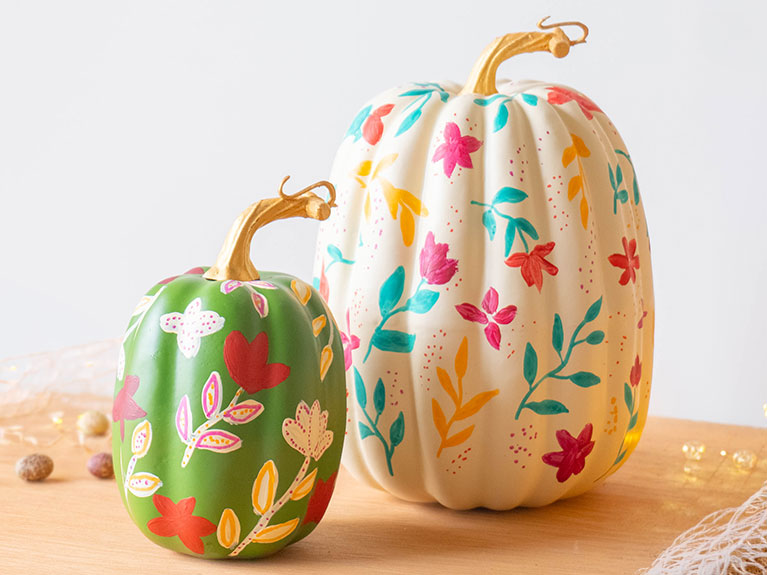
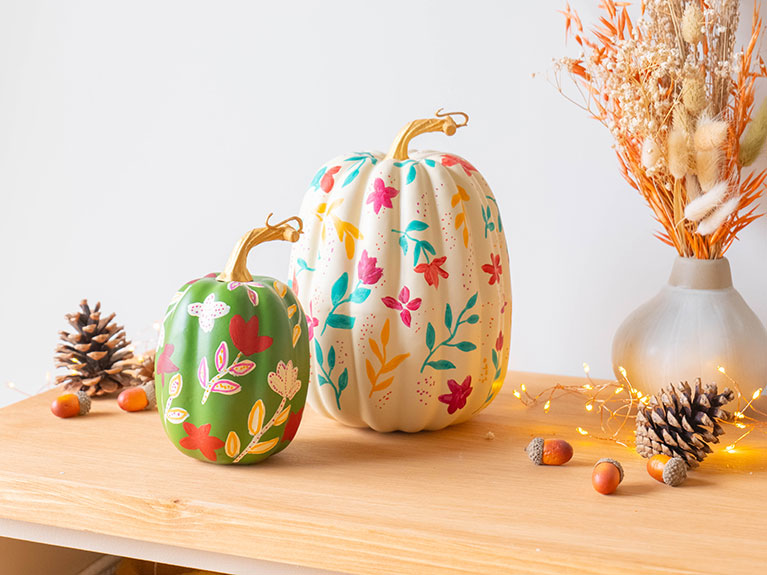
Customize a decorative pumpkin with paint to create an eye-catching autumn decoration. Prime with DO IT Colorspray, add accents with DO IT Craft Paint and markers, and your pumpkin becomes a work of art.
Decorative Image
Decorative Image
Decorative Image

HOW IT IS DONE:

Decorative Image
1

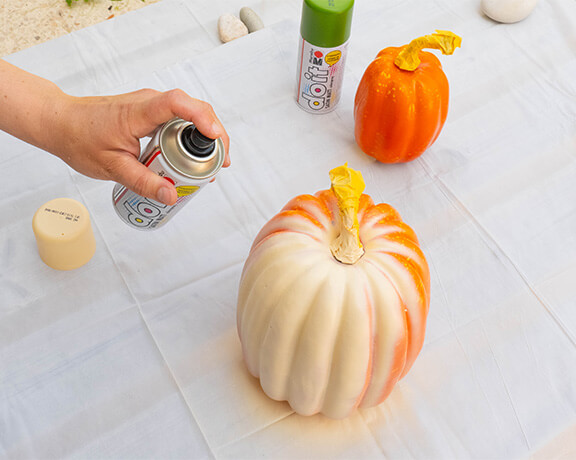
Prepare all the materials. Clean the pumpkins. They should be clean and dry. Cover the spray area thoroughly and protect the work area from the spray mist. For best results, spray outdoors or ensure adequate ventilation.

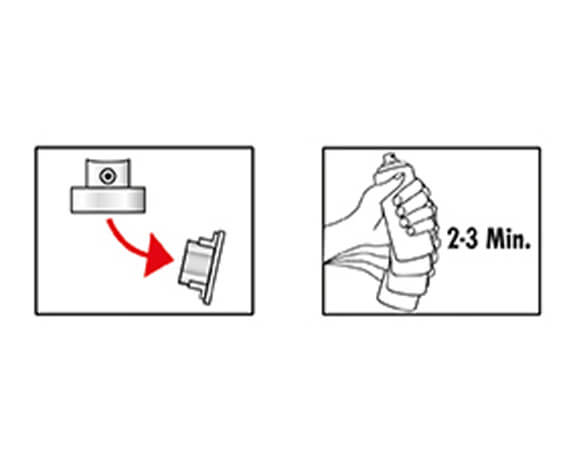
Carefully remove the spray head from the DO IT can, then remove the red safety valve. Replace the spray head and cap, then shake the can for two to three minutes. Spray the can onto a piece of cardboard or newspaper first to ensure that no solid particles are stuck in the spray head.

Decorative Image
2

Use masking tape to cover the pumpkin designs, then prime with DO IT Colorspray. Allow the pumpkins to dry thoroughly.

Decorative Image
3

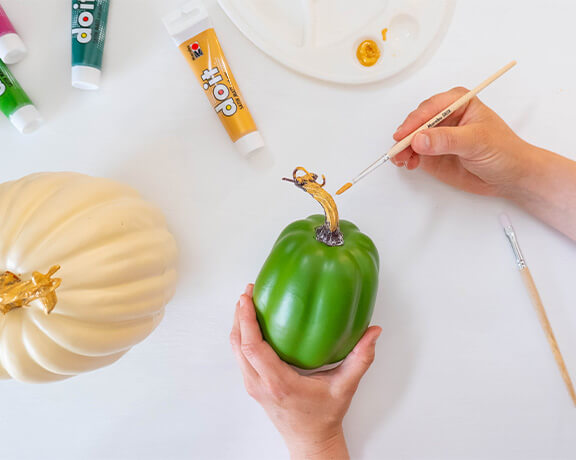
Remove the masking tape from the styles. Then, decorate the styles with gold DO IT Craft Paint.

Decorative Image
4

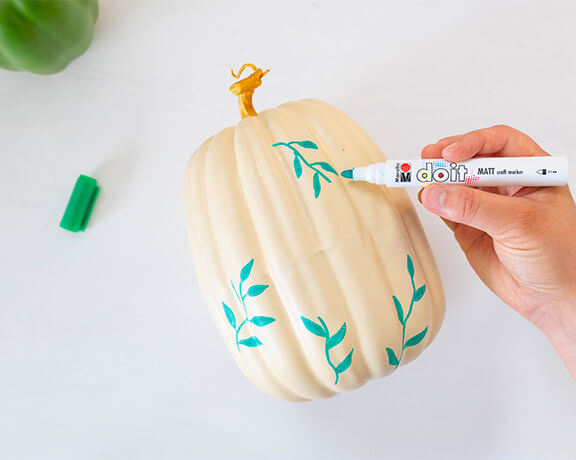
Then, use DO IT Craft Markers to decorate the surface of the pumpkins with vines.

Decorative Image
5

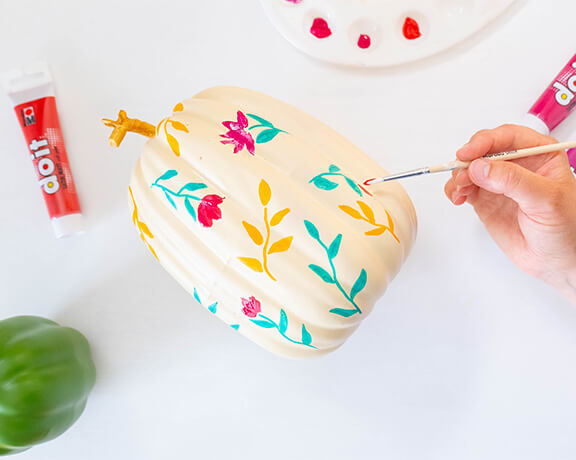
The flowers are painted on with DO IT Craft Paint using a brush. This creates a floral pattern in autumnal colors on all sides of the pumpkins.

Decorative Image
6

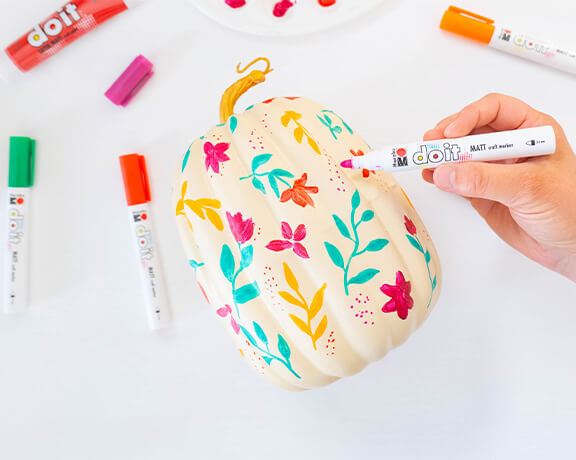
Finally, add the finishing touches with Do It Craft Markers. Allow them to dry thoroughly, and you're done!

TIPS & TRICKS
  • Cap off and off you go: the Marabu DO IT marker does not need to be pumped.